Whether it’s a sharp brush against a parking pillar or the result of tight off-road paths, paint scratches can take the shine off even the most stylish ride. For Saudi and Arab car lovers, keeping your vehicle looking flawless isn’t just about pride; it’s also about protecting its value. Thankfully, removing scratches doesn’t always mean a trip to the body shop. With the right tools and knowledge, you can handle most marks on your own. Here’s how to deal with everything from surface swirls to deep dings, and keep your car shining like new.
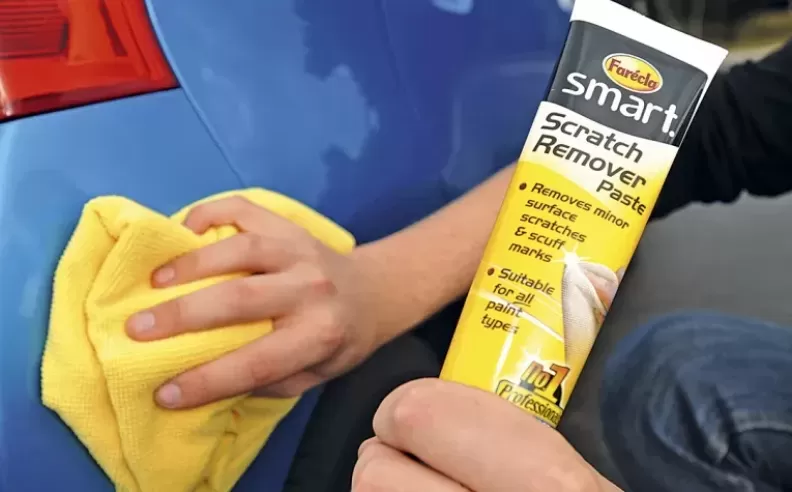
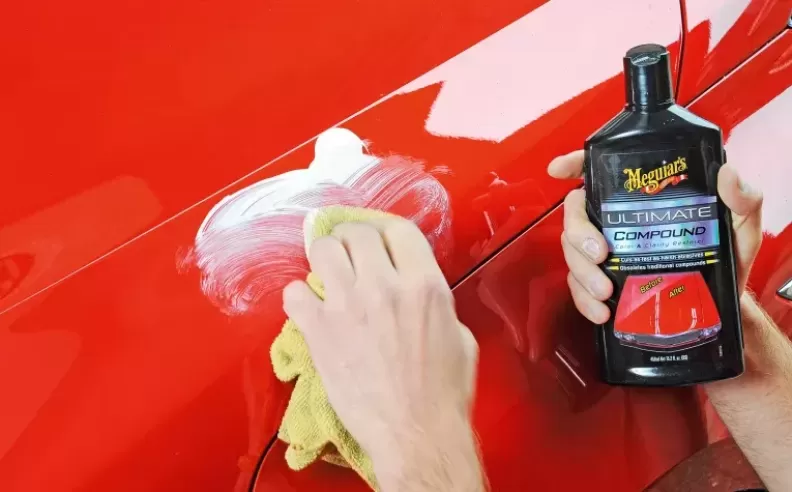
If a scratch hasn’t gone beyond the clear coat or base layer of paint, you’ve got a good chance of fixing it at home. The easiest way to check? Run your nail gently over the mark. If you can’t feel it, that means it’s superficial and can be buffed out using scratch-removal products like T-Cut or other fine abrasive pastes.
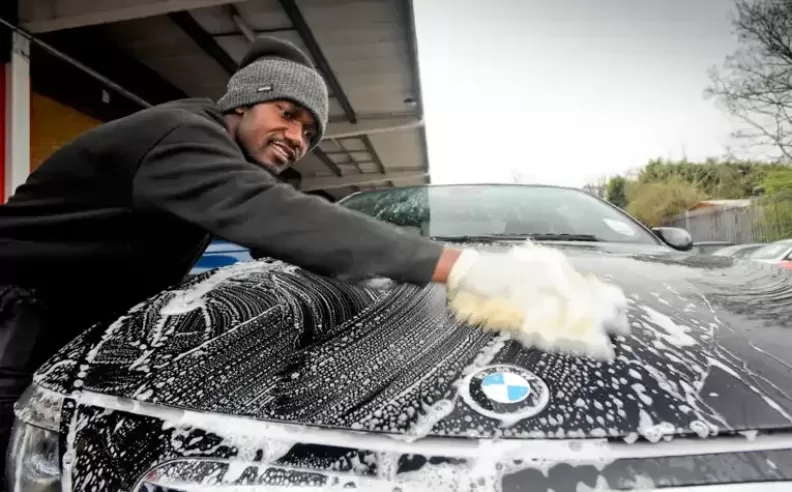
Start by washing the car thoroughly to avoid rubbing any dirt into the paint. Once dry, apply a small amount of the scratch remover using a microfiber cloth or buffing pad, and rub in circular motions with light pressure. Wipe off the excess and repeat if needed. Finally, polish the area to protect the surface and bring back its gloss. For better visual results, you can use colored scratch removers that match your car's paint, although these work best on solid colors, not metallics.
If your nail catches in the scratch, it likely means the damage has reached deeper into the paint layers. In this case, simple polish won’t cut it. You’ll need touch-up paint pens or, better yet, a professional fix. Touch-up pens are ideal for small stone chips or fine scratches. Clean the area, shake the pen well, and apply thin layers of paint with drying time in between. Once it cures, finish with a clear lacquer to seal the spot.
For broader or more visible damage, especially those exposing metal or plastic underneath, calling a SMART repair technician is the smart move. These mobile specialists can match your car’s paint and restore the area to showroom condition, without you having to leave your driveway. It’s costlier than DIY but more affordable than a full respray.

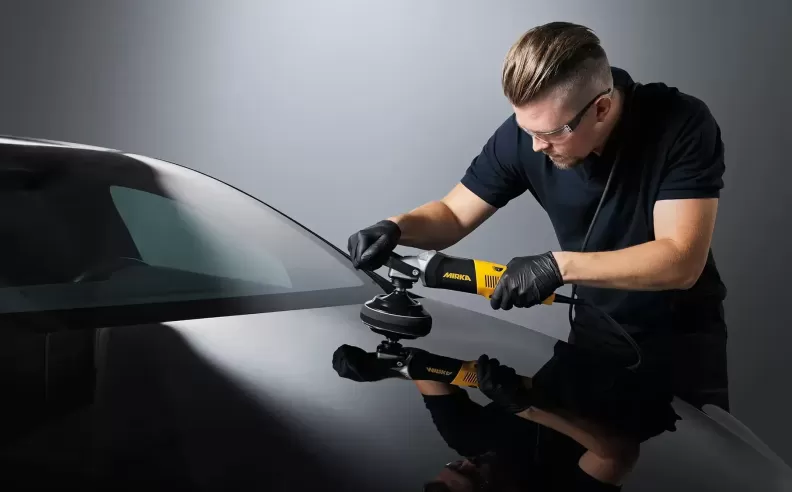
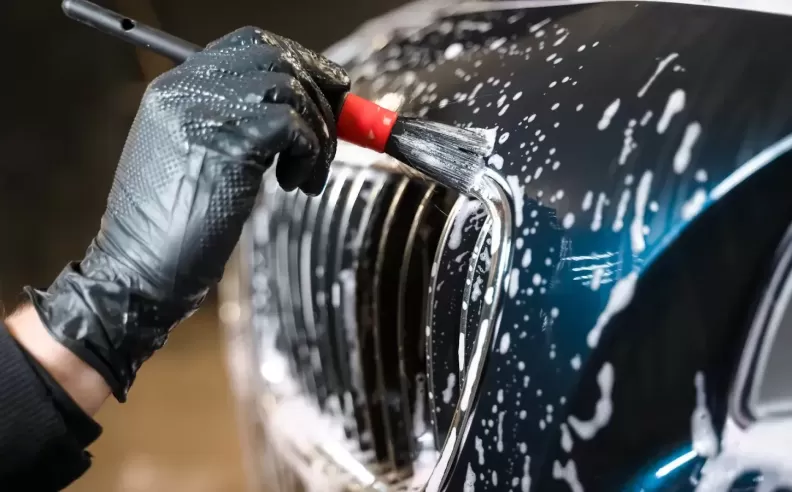
Swirl marks can appear after improper washing and drying. These micro-scratches usually result from using dirty cloths or sponges that drag grit across the surface. To avoid this, always use a grit guard in your wash bucket, rinse your mitt frequently, and dry with a soft microfiber towel.
To remove existing swirl marks, use the same scratch-remover method described above. Work in good lighting so you can spot and eliminate each swirl. Once done, apply a layer of wax or sealant to prevent future damage and enhance the paint’s gloss.
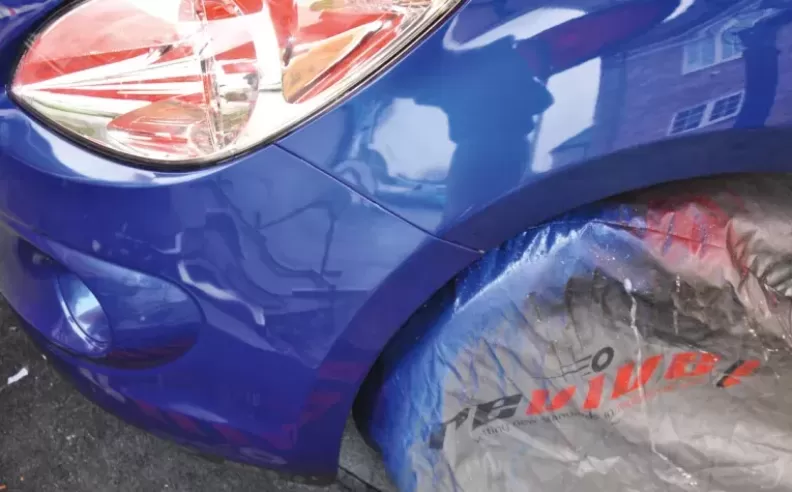
Scrapes from car parks or roadside mishaps might look serious, but they’re often fixable with the right kit. Many DIY repair kits include paint, brushes, polish, and clear coat. Some even come with paint that matches your vehicle’s exact color code. Always check your car’s VIN plate to find the correct paint code before buying.
Start by cleaning the area, then paint the damaged section in layers. After drying, polish and blend the spot so it matches the rest of the panel. For best results, finish with wax to add durability and shine. If the job feels too tricky or the area is too large, a SMART repair technician can handle it faster and with professional-level results, still cheaper than a full garage respray.
Started my career in Automotive Journalism in 2015. Even though I'm a pharmacist, hanging around cars all the time has created a passion for the automotive industry since day 1.

 SHARE
SHARE